
Skylight Installation: Adding Natural Light to Your Ottawa Valley Home
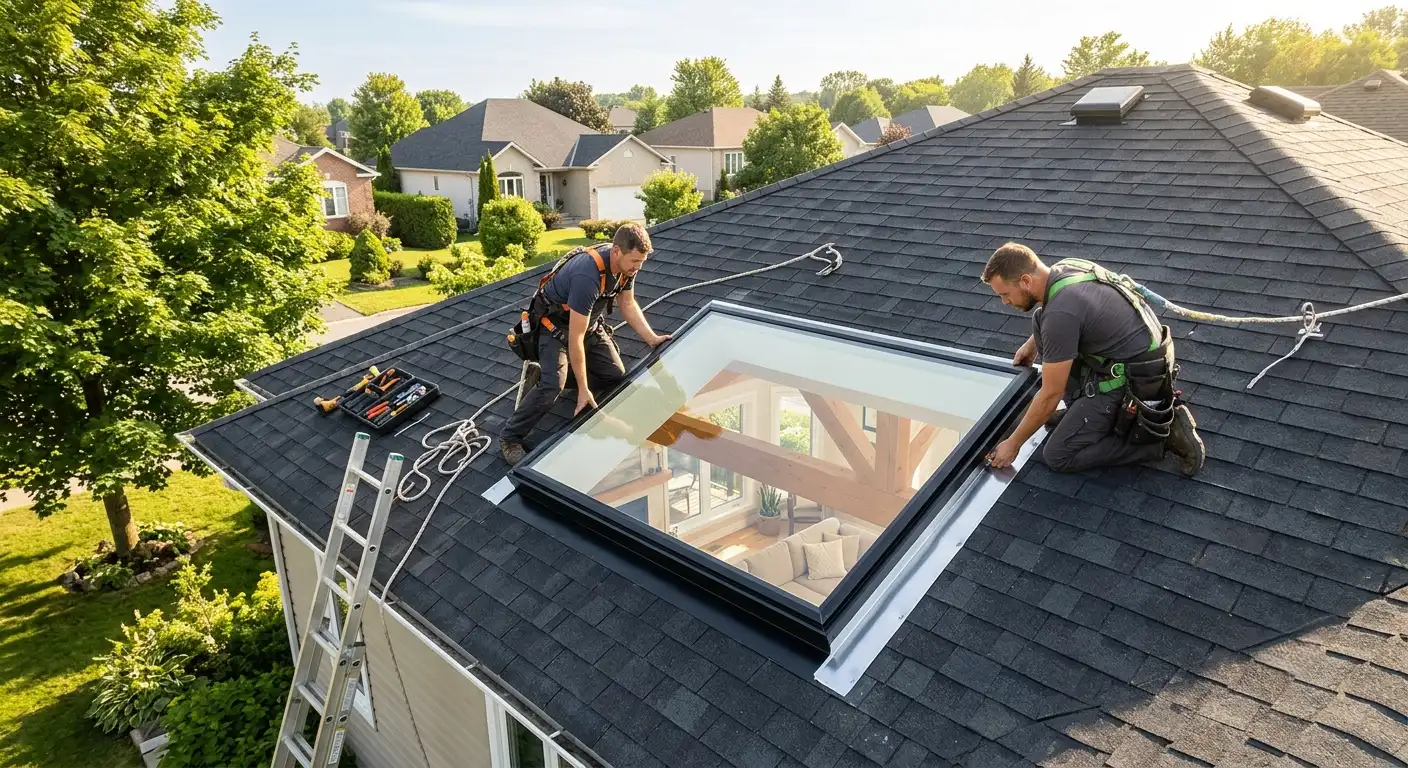
A well-placed skylight transforms a room — flooding it with natural light, opening up the space, and connecting the interior to the sky above. But a skylight is also a hole cut into your roof, and how it is installed determines whether it becomes a beloved feature or a source of leaks. Understanding the installation process, the types available, and the critical waterproofing details helps Ottawa Valley homeowners get skylights done right.
If you are still deciding whether skylights are right for you, our overview on whether your home could benefit from skylights covers the advantages. This guide focuses on the installation itself — the decisions, the process, and what separates a durable installation from a leaky one. After more than 50 years of roofing work across the Ottawa Valley, we have installed and replaced our share of skylights.
Types of Skylights
The first decision is which type of skylight suits your space and goals. Each type serves a different purpose.
Fixed Skylights
Fixed skylights are sealed units that do not open. They are the most common choice for adding light, offer the fewest potential leak points because there are no moving parts, and suit rooms where light is the goal rather than ventilation. Fixed skylights work well in living rooms, stairwells, hallways, and any space that simply needs more daylight.
Vented Skylights
Vented skylights open — either manually or by motor — to allow air circulation. They are ideal for kitchens and bathrooms where moisture and heat build up, creating what amounts to a passive ventilation point at the highest part of the room. Vented units cost more than fixed and have more components, but the ventilation benefit is significant in the right space.
Tubular Skylights
Tubular skylights (sometimes called sun tunnels) are compact units that channel light through a reflective tube from the roof down into the room below. They suit smaller spaces — closets, hallways, powder rooms — where a full skylight would be impractical. Tubular units are less expensive, easier to install, and bring surprising brightness into small windowless spaces.
Choosing the Right Placement
Where a skylight goes matters as much as which type you choose. Placement affects light quality, energy performance, and how well the installation holds up over time.
Roof orientation. North-facing skylights provide consistent, cool light throughout the day. South-facing skylights bring maximum brightness and warmth — welcome in winter but potentially adding heat in summer. East-facing captures morning light; west-facing captures afternoon and evening light along with more heat.
Roof slope. The pitch of your roof affects both the skylight's appearance and its performance. Your installer will factor slope into the unit selection and the flashing approach.
Interior layout. The skylight's position on the roof determines where light lands inside. On a steep roof, a skylight higher up throws light deeper into the room. The relationship between roof position and interior effect is worth planning carefully.
Structural considerations. Skylights fit between roof rafters or trusses. Placement must work with the existing structure, and larger units may require structural framing adjustments. This is one reason professional assessment matters before committing to a location.
The Installation Process
A professional skylight installation follows a careful sequence designed to create a watertight, durable result.
Planning and measurement. The installer confirms the location, checks the structure, and verifies that the chosen unit fits between the rafters or that framing adjustments are needed.
Opening the roof. The roof and ceiling openings are cut precisely to the skylight's specifications. On a finished ceiling with attic space above, a light shaft may need to be framed to channel the light down through the attic to the room.
Framing the opening. The rough opening is framed to support the skylight and maintain the structural integrity of the roof. Any cut rafters are properly headed off.
Setting the skylight. The unit is positioned and secured according to the manufacturer's specifications. Curb-mounted and deck-mounted units (covered below) are set differently.
Flashing and waterproofing. This is the most critical phase — covered in detail in the next section.
Interior finishing. The light shaft is finished, insulated, and drywalled to blend the skylight into the room.
Flashing and Waterproofing — The Critical Part
The single most important factor in a skylight installation is the flashing. A skylight is a penetration through the roof, and penetrations are where the vast majority of roof leaks originate. In fact, improper flashing around chimneys and skylights is one of the leading causes of roof leaks — a topic we cover in our guide on skylight leaks.
Proper skylight flashing is a layered system. It typically includes a base flashing at the bottom edge, step flashing along the sides, and head flashing at the top, all integrated with the roofing material and underlayment so that water is directed around and away from the skylight rather than toward it. Ice and water shield membrane is installed around the opening for additional protection — especially important in the Ottawa Valley, where ice damming can drive water backward under normal flashing.
Most quality skylights come with a manufacturer-supplied flashing kit engineered specifically for that unit and the roofing material it will sit in. Using the correct flashing kit, installed to specification, is what makes a skylight watertight for decades. Cutting corners here — improvising flashing, relying on sealant instead of proper metal work — is the single most common cause of skylight failure. The same roof penetration principles that apply to vents and chimneys apply to skylights.
Curb-Mounted vs. Deck-Mounted Skylights
Skylights attach to the roof in one of two ways, and understanding the difference helps you know what to expect.
Deck-mounted skylights attach directly to the roof deck and sit lower against the roofline, creating a sleeker profile. They are common in residential applications and integrate cleanly with the roofing material. Their lower profile is aesthetically preferred by many homeowners.
Curb-mounted skylights sit on a raised frame (the curb) built up from the roof deck. The curb elevates the skylight above the roof surface, which can improve water shedding and is often used on lower-slope roofs or for larger units. Curb-mounted units have a slightly taller profile.
The right choice depends on your roof slope, the unit you select, and aesthetic preference. Your installer will recommend the approach that suits your specific situation.
Installing Skylights During a Re-Roof
If you are already planning a roof replacement, it is almost always the ideal time to add or replace skylights. Several reasons make this the smart approach:
- The roof is already open. Access, staging, and safety equipment are in place, reducing the incremental cost of the skylight work
- Flashing integrates perfectly. New skylight flashing installed into a brand-new roof with new underlayment produces the tightest, most durable seal possible
- Warranty alignment. The skylight and the roof begin their lifespans together, and future service falls under one contractor
- Cost efficiency. Doing both together avoids paying twice for roof access
If you have aging skylights and are planning a re-roof, replacing them during the project is far more economical than doing it separately later. Our guide on preparing your home for a roof installation covers how to plan a re-roof project that includes skylight work.
Replacing Old or Leaking Skylights
Skylights do not last forever. Older units — especially those installed decades ago — can develop leaks, seal failures, condensation between glass panes, and degraded flashing. When a skylight starts to fail, replacement is often smarter than repeated repair attempts.
Signs a skylight needs replacement include:
- Persistent leaks despite flashing repairs
- Condensation or fogging between the glass panes (indicates seal failure)
- Cracked or yellowed glazing on older acrylic units
- Water stains on the ceiling around the light shaft
- Drafts or noticeable heat loss around the unit
Modern skylights are dramatically more energy-efficient than units from twenty or thirty years ago, with better glazing, improved seals, and superior flashing systems. Replacing an old skylight often improves both comfort and energy performance. If you are noticing leaks, our emergency roof leak repair team can address the immediate water intrusion while a replacement is planned.
Energy Efficiency Considerations
In the Ottawa Valley's climate, skylight energy performance matters. Modern units offer features worth considering:
- Low-E coatings reduce heat transfer, keeping rooms cooler in summer and retaining heat in winter
- Double or triple glazing improves insulation and reduces condensation
- Gas fills between panes (argon or krypton) further improve thermal performance
- Insulated light shafts prevent the shaft from becoming a thermal weak point
Choosing an energy-efficient unit appropriate for our cold winters and warm summers ensures the skylight adds comfort rather than creating a hot spot in summer or a cold spot in winter.
Why Professional Installation Matters
A skylight installation combines carpentry, roofing, and finish work, all executed around a hole cut in your roof. The margin for error is small — a flashing mistake that would be invisible on installation day becomes a leak during the first heavy rain or the first winter thaw.
Professional installation ensures the structural framing is correct, the flashing is properly integrated with the roofing system, the ice and water shield is placed correctly for Ottawa Valley winters, and the interior finish is clean. This is not a project where cutting costs on installation pays off. Working with an established local roofing contractor who understands both skylights and the specific demands of our climate is the difference between a feature you love and a problem you regret.
Get Your Free Estimate
Thinking about adding skylights or replacing old ones? Our team will assess your roof, discuss placement and options, and give you a straightforward estimate with no obligation.
Fill out the form or reach us directly.
Call us at (613) 259-5766 or contact us to schedule your on-site assessment.
Bringing Light Into Your Home
A properly installed skylight brings years of natural light, comfort, and character to a home. The keys are choosing the right type and placement, and — above all — getting the flashing and waterproofing right. When those elements come together, a skylight is one of the most rewarding upgrades you can make to a room. McKay Roofing offers professional skylight installation, replacement, and repair across Lanark, Perth, Almonte, Carleton Place, Kanata, and the wider Ottawa Valley.